
Circa 1961

Here in Massachusetts we were hit with a whopper snowstorm this weekend, so I thought I’d get started on the Rucci dress. However, that plan was sidelined when I unpacked the Christmas tree skirt and discovered that sometime over the summer $150 worth of ball fringe trim from G Street Fabrics had been chewed off of it by garage mice and used for nesting material.
Time for a new tree skirt.
I had some rich burgundy home dec velvet in my stash, and some great silver silk dupioni for a binding. The embroidery module of my Bernina 180E had not been used in a while, and I had this cool modernist snowflake design that would look just great on the velvet in various shades of silvery-grey threads.  And guess what happened? Well, my ancient (2001) Bernina 180E Artlink software is not compatible with any of the five computers we have in this house. I didn’t want to shell out $500+ to Bernina for their true editing software because I don’t use the embroidery module all that much, and who the heck knows if it would even work on a Bernina machine from 2001 and a 2007 PC running Vista. Intense frustration ensued.
So what did I do? Go onto Ebay and bid on an Dell laptop running Windows ’98 so I can match it up with my 8 year old 180E and its Jurassic era Artlink software. And sure enough – Ebay has plenty of once $1,000+ laptops for less than $60. Hopefully I’ll get the snowflakes embroidered in time to stow away the tree skirt till next Christmas. Wish me luck with the laptop I’m bidding on. If I ever sell this Bernina, which as an embroidery machine is depreciating faster than anything GM ever built; I’ll need to include a working laptop with it because no one would ever be able to use the embroidery module without a computer of similiar vintage. And did I tell you that the sole connection from the sewing machine to the PC is a serial port??? I’d better not lose any of the cables either…
![]() This work is licensed under a Creative Commons Attribution-Noncommercial-No Derivative Works 3.0 Unported License.
This work is licensed under a Creative Commons Attribution-Noncommercial-No Derivative Works 3.0 Unported License.
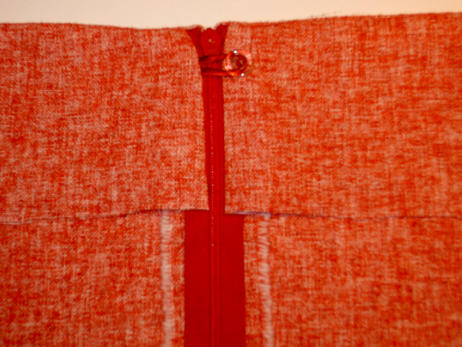
There are a lot of ways to sew a facing in a garment with an invisible zipper.
I will share my way of finishing a facing with an invisible zipper this be used for any facing, like a faced neckline, skirt or pants waistline. I always add a small flat button and fabric loop at the top to reduce the stress of the zipper. (the fabric loop is made of bias cut lining and steam pressed into a small flat loop shape)
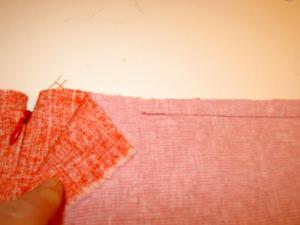
Cut the facing the same length as the waistband including the seam allowance.
Sew the facing at the waistband but leave the first 3 inches (7,5 cm) from the zipper on both sides free, these will be sewn later.
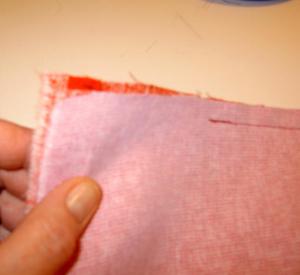
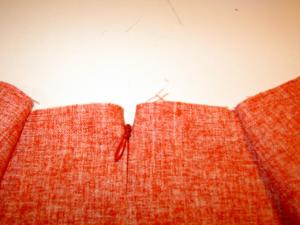
If you want to add a button and fabric loop, sew the fabric loop at the zipper tape about 1 cm below where the zipper pull if the zipper is zipped up. For this example for a skirt I sewed it at the left side.
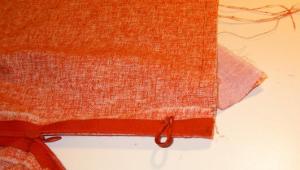
The facing seam allowance at the top should be moved/angled about 1 cm away from the seam allowance of the zipper.
The lower part of the facing matches the seam allowance.
Sew the facing at the zipper tape
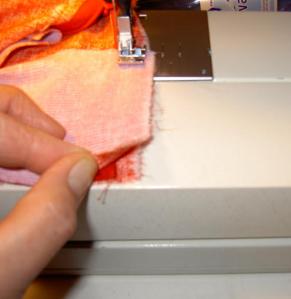

If you plan to line the garment, do not sew the last ½ inch (1,5 cm) from the facing, so you can insert the lining at the facing bottom later.


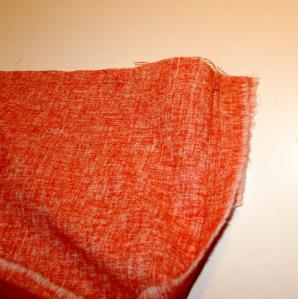
Push the zipper coil flat and fold the zipper towards the facing part.


Stitch the remaining facing at the waistline but do not back stitch.

Turn the facings to the inside, and check if the stitching line of the facing is even.
If the facing is even on both sides turn the facing again towards the inside and back stitch , grade the seam allowances and cut the corners at an angle.
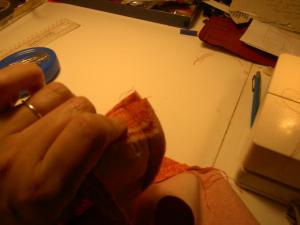

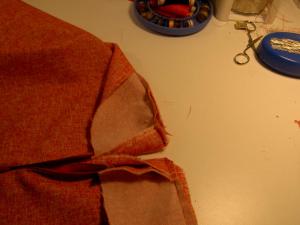

Finish the faced zipper by sewing on a flat button.

