by Diva Gigi
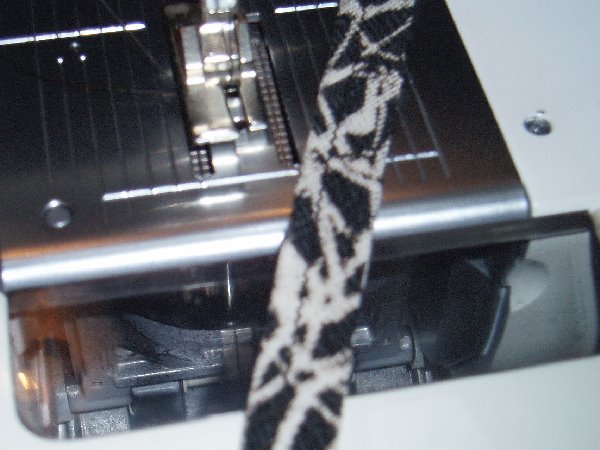
I’m working on a 2nd version of McCall’s 5137 over at Behind The Seams. I thought a button detail at the center front would look really nice – just a little something different from the first version. Even though they are to be non-functional I still wanted to take the time to have buttonloops under the buttons. Yes, I know that no one else will notice them but I will appreciate them. 🙂 Using 1″ fabric strips cut on the true bias I sewed (with a tiny zigzag) 1/8″ away from the fold of the fabric using my straight stitch presser foot as a guide.

Before trimming:
After trimming and turning, I pinned the tubing to my pressing surface and gave it a good stretching and steaming (this is why the zigzag is important). Be sure you allow the fabric to cool and dry before moving it.

After deciding on the number of loops and their spacing. I traced the front pattern piece onto examining table paper. I marked the position of the loops and their size – in this case 1/2″. Then the loops were stitched onto the paper on the stitching line. If you want your loops very close together you needn’t bother cutting them apart.

Next, the paper/loop unit was stitched onto the right side of the front band.

Lastly, the paper is torn away. To reduce bulk I will trim the ends of the loops once the center front seam has been sewn.


 Subscribe with Bloglines
Gigi,
Thanks so much for posting this! I can’t wait to give these loops a try.
Comment by hnjmom — June 2, 2006 @ 1:54 pm
These buttons and loops are going to spice up an already hot dress!
Comment by Mary Beth — June 2, 2006 @ 2:48 pm
Brilliant, just brilliant Gigi! I’ll have the print this one out for future reference.
Comment by Phyllis — June 2, 2006 @ 4:39 pm
What a great tutorial. Thanks! Like Phyllis, this is getting printed out and added to my fave rave techniques binder.
Comment by Gorgeous Things — June 2, 2006 @ 7:43 pm
Like your idea to add buttonloops to the dress.
Comment by Els — June 4, 2006 @ 9:36 am
Thanks!!! This is very easy to follow.
Comment by Laurie — March 29, 2007 @ 2:15 am
Can you suggest how to turn the loops inside out when the opening is only 1/8″??????????
I’m having a difficult time turning the loop inside out.
Thank You.
Anne
Comment by Anne Arnold — September 18, 2007 @ 1:41 pm
To turn the loops:
Before you begin sewing the seam, pull the top and bottom threads the length of the loop fabric so that it will leave a tail that runs the length of the inside of the loop. When you finish the seam, gently work the thread tail and the fabric that will follow it through until you have turned the whole thing inside out.
Comment by Gay Olivier-Lilley — April 25, 2008 @ 9:06 pm
Thank you so much for this tutorial, AND that last answer – just what I needed! 🙂 Thanks!
Comment by Astrid — April 12, 2009 @ 2:29 pm
[…] didn’t give me much to go on, so I turned to the internet for a bit of assistance and found this tutorial. I didn’t do the paper backing, but used the pictures as a guideline, and also a comment […]
Pingback by Light Summer Tunic | Connecting the dots... — April 15, 2009 @ 4:56 pm
Thanks–I used some of the techniques described here when I made my button loops. Couldn’t get the “work the thread tail . . .through” bit to work but have used another method on my blog that worked very well for me: http://craftyendeavors.blogspot.com/2009/05/tutorial-how-to-make-button-loops-or.html
Comment by Jules — May 2, 2009 @ 9:42 pm
[…] Knopfschlaufen 1 […]
Pingback by Grundlagen, Tipps – Linkliste (sewing basics, tips) | Kostenlose-Schnittmuster.de — March 2, 2010 @ 7:13 am