
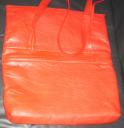
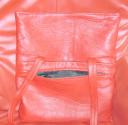
For this shoulder bag I used 2 brick-red leather hides, both were about 7 ½ foot large. This bag is a rectangle shape, zippered pocket on the front partly hidden under the flap and one zippered pocket at the backside for easy access.
Plus an inside pocket at the backside of the lining bag and a key lash stitched at the side seam of the lining bag.
I drafted a rectangle shape on paper with a fold over flap and measured my leather to see if I had enough leather, copied the rectangle paper pattern and add the several pieces for the pockets front and back and added a small piece to attach the shoulder straps, added seam allowances (3/8 inch (1 cm) for the side seams and 5/8 inch (1,5 cm) for all the other seams).
After cutting out the pattern parts from the interfacing I taped the paper pattern still with the interfacing pinned ontoo the leather with some medical paper tape.
The small pictures are all ThumbNail , just click and you see a larger image.

I made a long shoulder strap so I could wear this bag also crossed over. The strap is sewn with 3 pieces to get that extra long length.
The size of this bag is 17 inch (43 cm) wide, 12 inch (30 cm) high.
The total height is 17.7 inch (45 cm). Bottom depth is 2.4 inch (6 cm).
Shoulder strap is 59 inch (150 cm) long and 1 ¼ inch (3 cm) wide, so I also can choose to wear it crossed over. Outside pockets are 13 inch (33 cm) long and 6 1/8 inch (16 cm) deep.
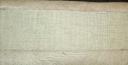
I started with fusing leather interfacing to all the parts except the shoulder straps.
This non-woven interfacing is special made for leather because it can be fused with a low heat iron.
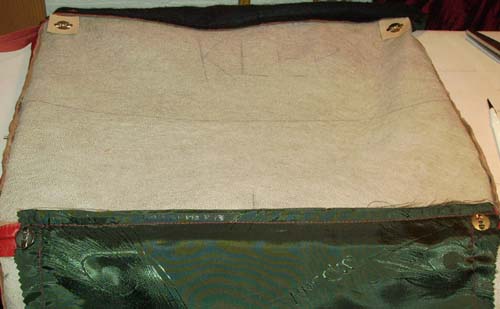
The bottom part and the part where the shoulder straps are sewn between are fused with a heavy hair canvas interfacing for some added strength.
All the seams are stitched and glued and flattened down before any stitching from the right side.
The zippers are sewn at the pocket openings, between the already closed seams.


I marked the seam allowance wide with a pencil (by folding the allowance back to the inside with the zipper teeth just inside the fold line) and glued the fold line of the zipper/pocket opening. The marked pencil is a guidance line only.
Then I used craft double-sided adhesive tape cut in half (because I only needed a narrow piece) to attach the pocket lining over the zipper-tape. Raw sides of the pocket lining and seam allowance match.
From the right side I sewed the zipper and the lining pocket (sandwiched stitched)


Now the other side of the pocket lining and zipper are stitched. The next step is sewing the pocket lining pieces together to form a pocket.
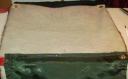
The lining for the bag is interfaced with a woven interfacing for adding some strength.

The leather is sewn with my new purchased “used” Singer 20U machine, Güterman strong polyester thread size 100 and sewing machine needle size 14/90.


I used several sewing machine feet for sewing this bag.
The Teflon and roller feet are great for sewing leather. I also used the Right Hinged Narrow Cording foot and glued some Teflon tape under the foot for top-stitching the shoulder strap at the center.
The Right Compensating Top-stitch Foot was great to edge stitch the shoulder strap.
Lining leather for reinforcing the magnetic snaps and to cover them so the metal parts will not weaken the lining.


The inside lining pocket 7 x 7 inch (18 x 18 cm) is from a double layer of lining with the opening at the fold line which I glued down with a strip of double side fusible hem tape. The pocket is stitched around right sides together but I left a small part open at the bottom to turn the pocket inside out. Pressed and edge stitched at the lining bag.
There was some leather left but it was damaged, but I could use this part and cut around the damaged spot and add some color to the inside pocket. I made a template 3/8 inch (1 cm) wide and 3/8 inch ( 1 cm) wider than the length and wide of the pocket so the edges of the pocket is covered by nearly 1/4 inch (1/2 cm) and stitched the leather around the pocket edges.
I used a Pritt glue stick for temporarily securing the leather around the pocket edges and used the zipper foot to stitch it close to the edges.


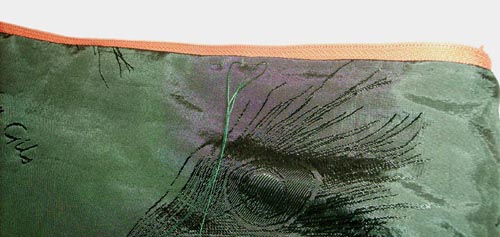
For the bag opening I used a different zipper a non-separate one which can be used for garment sewing like in a a dress. This zipper has a smaller and narrower zipper coil, which does not add weight and is more flexible for the purpose of this bag.

The zippers I used for the pockets are separate ones which are sturdier.


The only hand sewing I did was finishing the last inch ( 2,5 cm) from the pocket lining seams towards the top side,
prick stitched the lining bag at the zipper tape at the bag opening so it will stay put,
secured the lining side seams about halfway down with a couple of stitches towards the leather side seams and sewed a few stitches at the bottom of the bag to attach the leather and lining bottom together.

I closed the opening in the lining bag side seam, (which was needed to turn the bag inside out) with a ladder stitch.
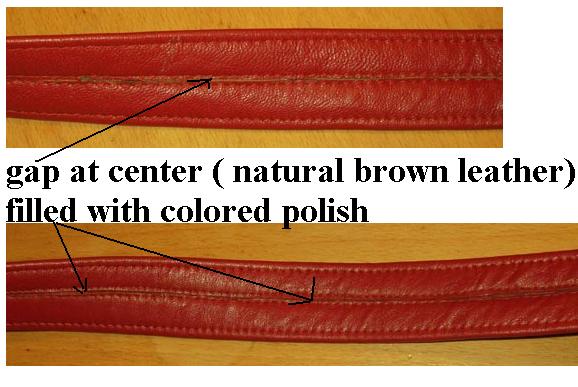
Since the inside of the shoulder strap was not as nice butted together as it should be, although I tried to do it right by marking a line at the center where the edges would meet eachother.

I noticed that after stitching a hairline away from the center edges with the zipper foot and topstitch from the right side along the outer edges there was a small gap which showed the natural leather color.
I bought some leather colored polish to fill in the gap. I was lucky that the color brick red is the same as the bag. Used a narrow tiny brush to “paint” the gap between the folded and stitched edges to cover the natural brown suede leather which on some spots was visible.
Also a bag stop was glued at the center of the inside shoulder strap. This bag stop prevents the strap from gliding of my shoulder.

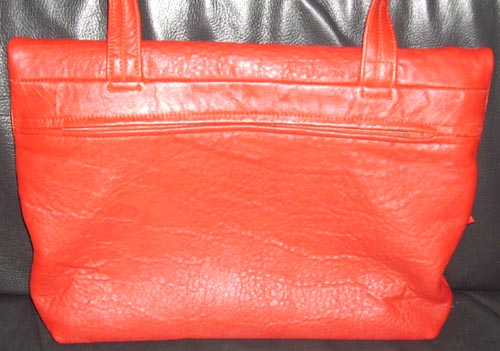
This last thumbnail picture reflects the true color of my new bag the best.
A high quality fusible interfacing also for using on leather is
Pro_Tricot fusible interfacing from http://sewexciting.blogspot.com/


 Subscribe with Bloglines